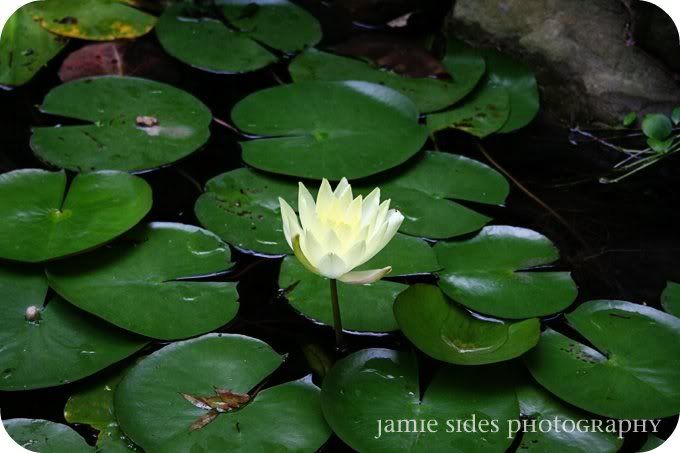
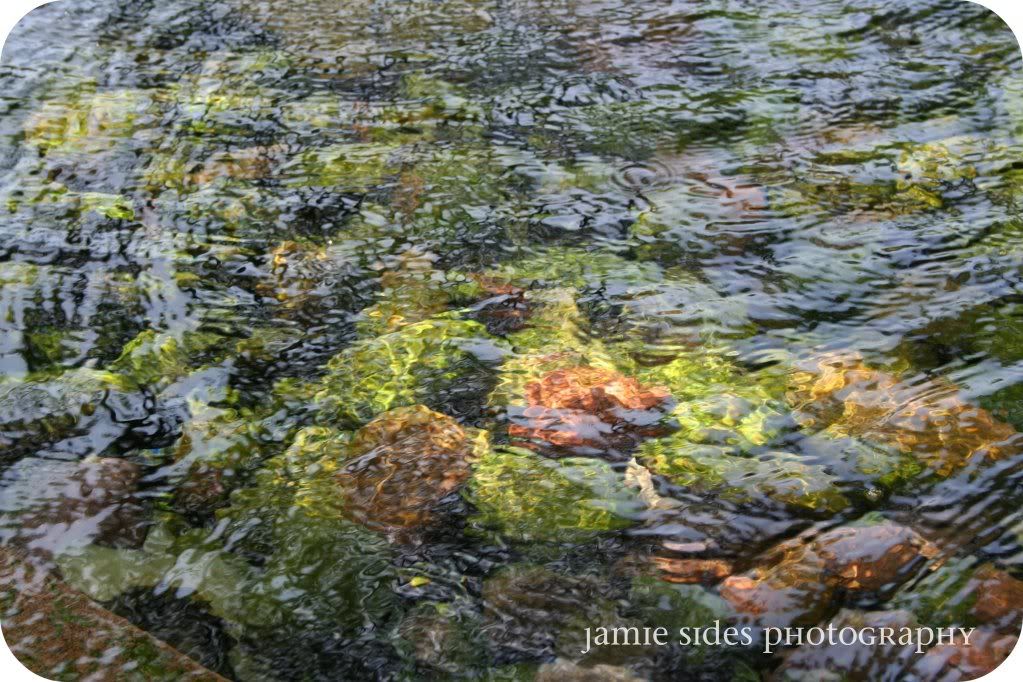
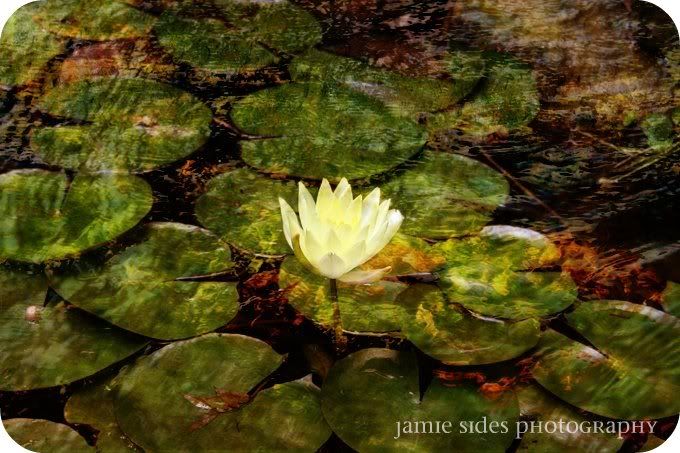
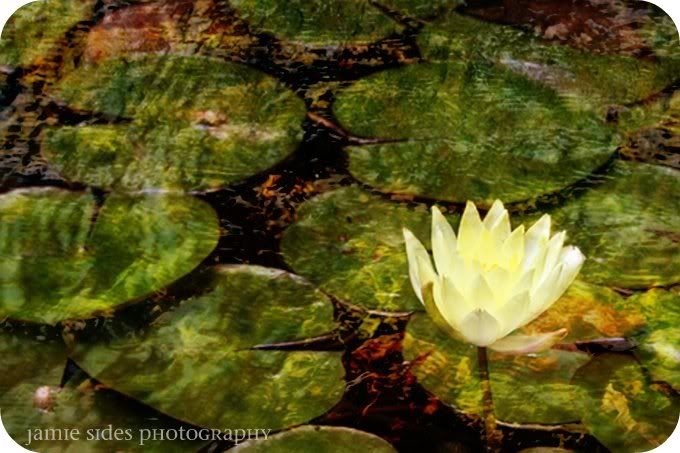
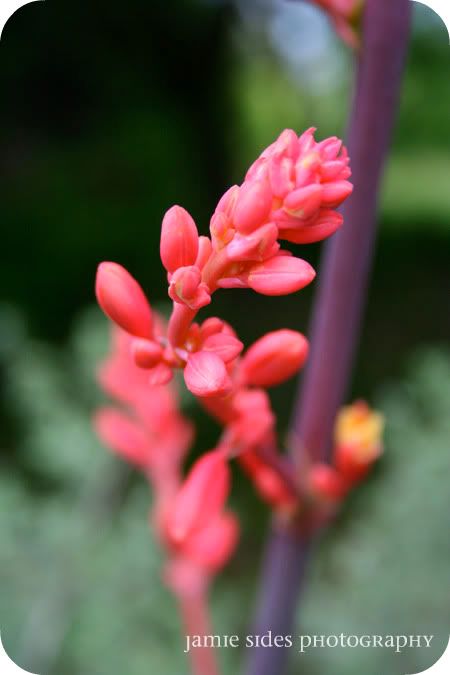
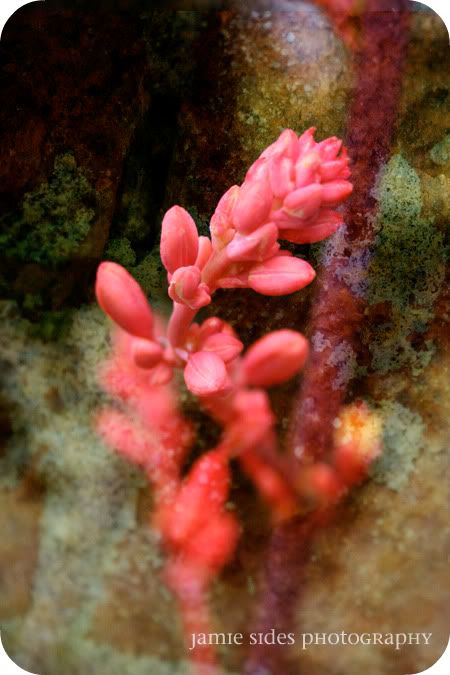
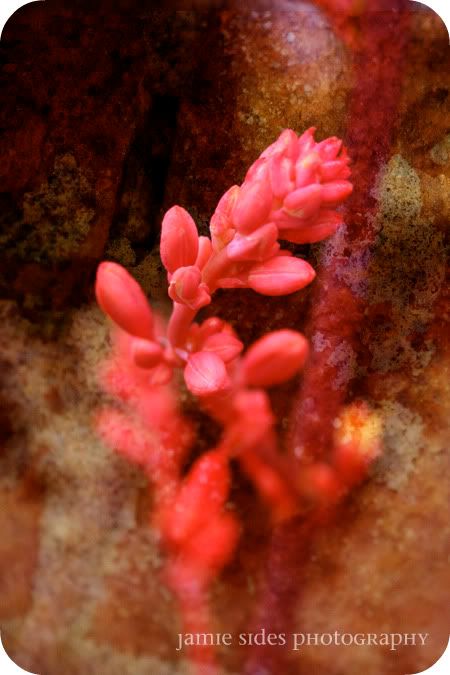
As was the case with the yucca, I prefer the waterlily in its pure photo form, but it was fun to try to create a Monet effect with the texturing. At least, that's what I was going for, but I didn't even come close. So I opened the waterlily photo in Photoshop. Then I chose a photo of ripples on rocks for my texture layer and also opened it in PS. Using the move tool, I placed the texture on top of the waterlily, which created a new layer. Then I changed the type of layer to soft light (though vivid and hard light also looked interesting) and adjusted the opacity to my liking. I really wasn't too impressed with the way the composition looked in art form, though, so I cropped it. I think with a different texture, or by desaturating the texture first so as not to import any of its colors, I could have achieved what I was going for a little bit better, but I'm definitely no Monet!
